
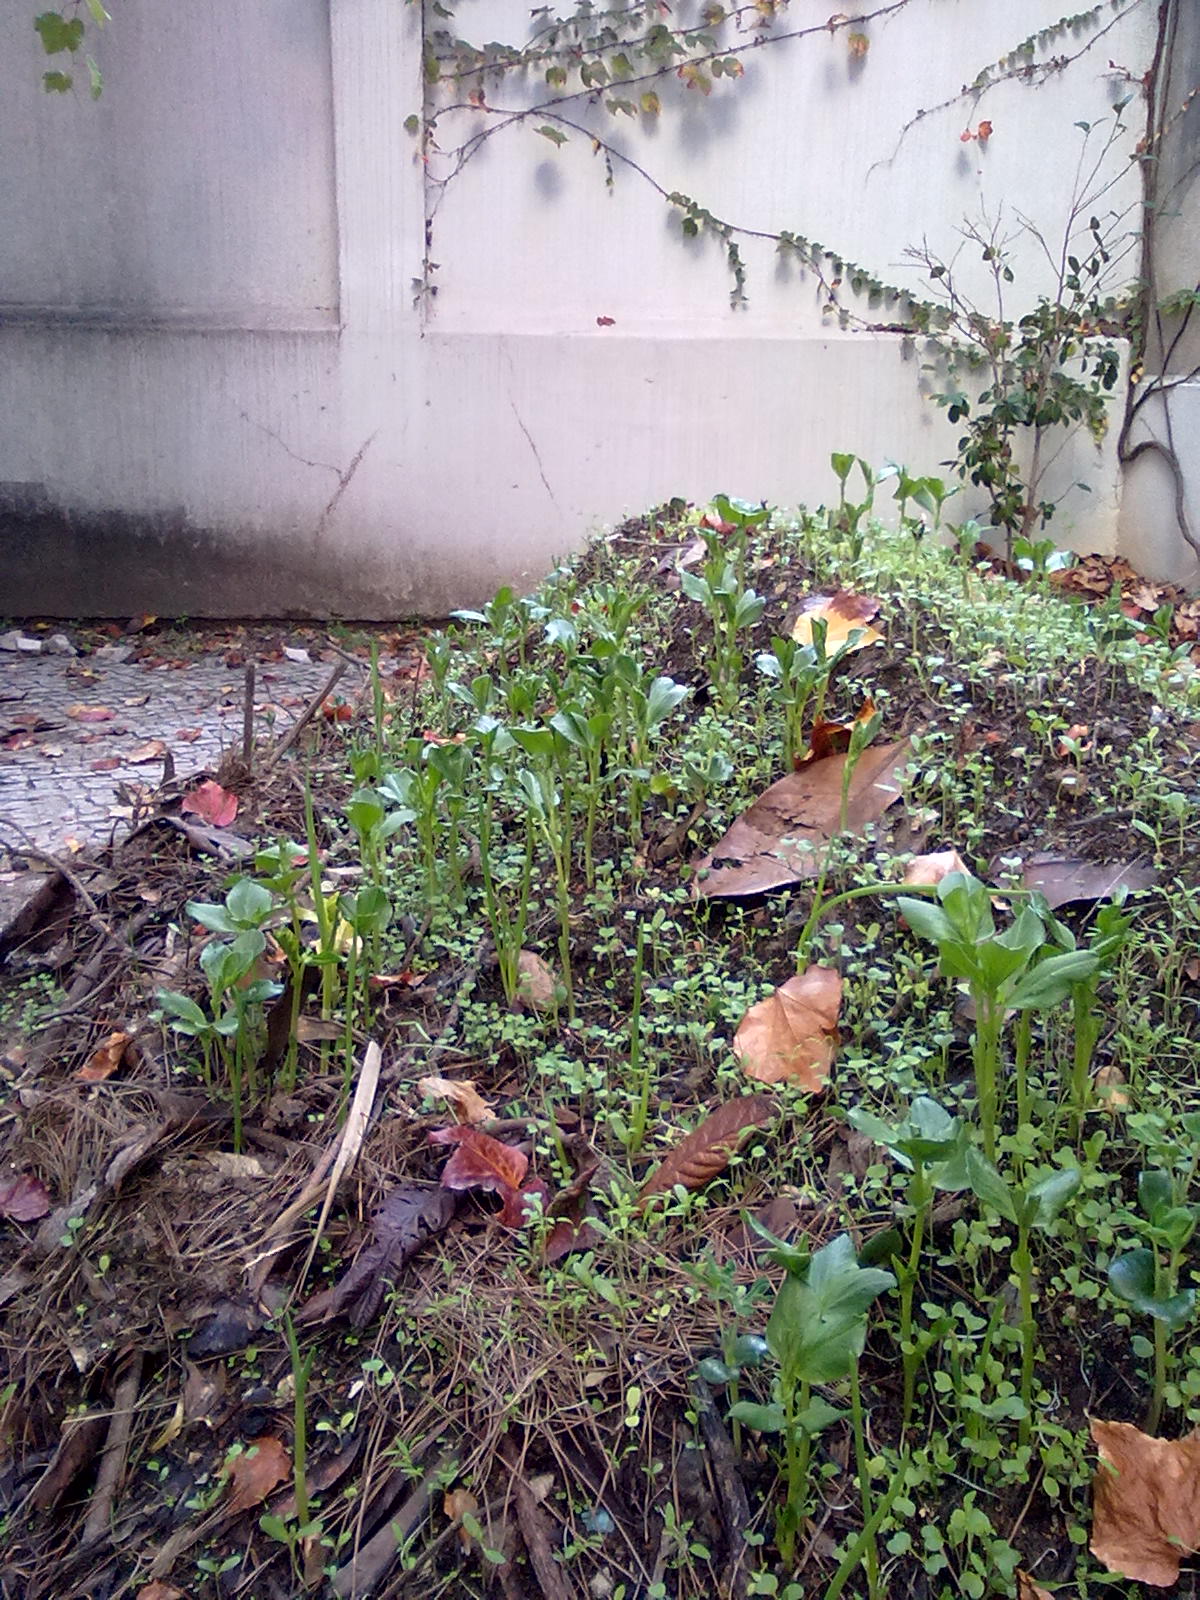
Ah... as lindas cores de Outono...

Antes que viessem as chuvas colocámos uns plásticos sobre o "top-soil". Foi muito interessante reparar que em menos de uma semana, já pequenos "pedaços" de micélio (Cogumelo) eram visíveis...


Terminada a cama foram logo deitadas MONTES de sementes! A saber:

A nossa ideia foi colocar troncos na base, galhos a meio, matéria orgânica, terra, e terra de qualidade no final. Com isto pretendemos que no final a matéria orgânica e a terra se entranhe nos buracos e consiga ali decompor-se nalgo equilibrado... vamos ver.
Naturalmente depois da obra feita convém lançar MONTES de sementes para evitar que a cama se desmorone ;)
Comecemos então :)


"Olha, um tronco!" LOOOL... tivémos de escavar o composto acumulado em busca dos troncos que estavam debaixo.
Ao escavar convém SEMPRE separar o solo de topo, mais rico em nutrientes do inferior, mais abaixo. Só este cuidado poupa uns dois anos de fertilização ;)

Lá está, a caminha de batata do Professor Fonseca... perdão, caminha de troncos... ahem...

"Portanto... isto vai prali" eheheheh Depois do escava, carrega... AgroFitness, é o que digo, meus amigos! Agro-Fitness!!

Depois dos troncos, os galhos..
Entretanto os nossos maravilhosos ajudantes estiveram a escavar aquilo que será o lago contribuíndo para mais terra para aumentar a altura da cama :) (Queremos uma BEM alta, ao estilo Sepp Holzer ;) )
"Eu tenho uma picareta!!!" ... o ar entretido deixava um toque de suspense no ar... MUAHAHAHAHAhahahaha...

E eis o trabalho quase final: Falta colocar o solo fino (à esquerda da cama) porque tivémos de ir embora... fica para outro dia :) Pode ver-se que o lago tem um buraco um pouco maior.
Ah, pois... e as sementes.. oops... hehehe
Ora muito bem, de volta ao Português, dada a falta de audiência estrangeira :)

Portanto, desta vez vamos escavar este solo previamente compactado e misturar-lhe uma boa dose de matéria orgânica do stock gigante que aqui temos ao lado.

Basta então usar uma pequena ferramenta... hehehehe. Olhem lá a cara de prazer do Sr. Lumberjack!!

Er... Oops?
Felizmente é um tubo seco... não fazemos idéia de onde poderá vir algo... regando uma sarjeta não levou prali água alguma... hum...
Então...

CAMELEIRAAAAA!!! :D Vamos transladar isto Sepp Holzer style!!

Buraco de um lado...
Protegem-se as raízes escavando todo o bocado de terra que as contém. ;)

Pois... escurece um pouco mais cedo... mas estamos a retirar as folhas para que a planta possa direccionar o seu esforço para a raíz. Poderíamos ter sido mais corajosos.... enfim...

Um pouco de mulch de caruma (as cameleiras gostam de terrenos ácidos)

We set on pruning the loquat tree, in order to open up for the Sun a bit more. During the process though, we realized the tree is in not so healthy a shape... apparently it is suffering from the same disease of the smaller one. This is probably scab (venturia inaequalis).
Oh, well... we don't have permission to cut it down, but we'll keep an eye on it. Our idea is to replace trees with vines and pergolas


That thread coming down the tree is a vine that has climbed it during the last two Summer seasons. It was an amazing climb! My guess is that it circled the tree with 10m of vine... impressive! :)

We started working on the right side bed here, only to find out it was MUCH more cemented than all the rest of the beds...

So we set on to use POWER TOOLS!!! hehehe
Well, actually this is on the left side. Since we were using this super strong hammer, we might as well clean that little bit that was left.

Due to a childish motivation that took hold on us both, we did it faster than we thought (we "arrring" like pirates during the mass floor destruction hehehe) and that got us time enough to take on the lake! ;D
erm... i'm sitting due to exhaustion! Being a pirate in frenzy is hard work lol!


This wide gap by the lake may still be used to create more lake. We're trying to leave that space without shade so as to not interfere with the medicinal aloe (Aloe Vera)
Well... we still have to create the raised bed, the bog and prune the loquat tree... HEAVILY!! It's the door to the Sun!!
Which reminds us... there's a very interesting picture my father took at noon on the solstice...

It's amazing how the vine grows (almost) only where there's Sun!! Look at that thread coming up between the shadows!!
And you can clearly see what we mean by "the door to the Sun". ;)
Ok, this time the photographer wasn't much inspired. lol! I usually try to memorize the angle in which i take the photos before and after. Somehow this just didn't was the case this week ... oh well... live and learn. Nonetheless, here they are:


You can see that the design was finally defined to detail. We chose to create a "snakeish" kind of lake. It comes from the boggy area at the end of the bed, to the middle of the patio where it widens, and also where the sewer drain is located (Where the bricks are). The stones were also removed from the left bed. :)
We've also planted a rosemary, although we forgot to water it... i wonder how it'll manage... probably won't.. lol

In the end we sowed LOTS of seeds all over, just to watch what would grow :).
Here's the list:
So now we'll just watch hehehe
I've also realized that by the end of work there's much less light, hence the poorer photo quality... Which reminds me, we'll have to think of something for winter... hehehe. Oh, and better angles next time, i promise! :)
New week, with a little more plans in mind: Todo: the shady and east side beds. Then... we'll see.. lol So before we started i took a picture of the objectives...


We'll transfer the shade-loving camellia (Camellia Japonica) to the NE corner :)
Well, that was fast! So now...let's see... how 'bout the lake? We still got an hour or so...
...time passes...
It's incredible how fast things move when we have a plan, and how slow otherwise. I mean.. the lake was to be here, but exactly how and precisely where... My friend suggested we could merge the lake into what'll be the raised bed, creating a small bog at the entrance... and why not? :)
So the basic layout was set and afterwards we went home to meditate through it during the week :)


Hello everyone! There has been some change as to the course this patio will take and the language of the blog ;) The reason for that, is that i'm following a permaculture course with Will Hooker, NC State University, alongside a new partner and friend :) So, from now on, each week, i'll try to post in here the changes we made during our "practical session" :) And, well... since i'm already due 3 weeks... let's start! :)
Our very first day was "blessed" by rain, so we didn't do much, apart from cutting a growing Oleander down the bottom. We also sat at the table thinking on what we should do more...
"Yup... that Oleander's going down..."


Sorry for the poor photo quality. My cell phone isn't that much when it comes to pictures... (... i'm also ... learning... lol)
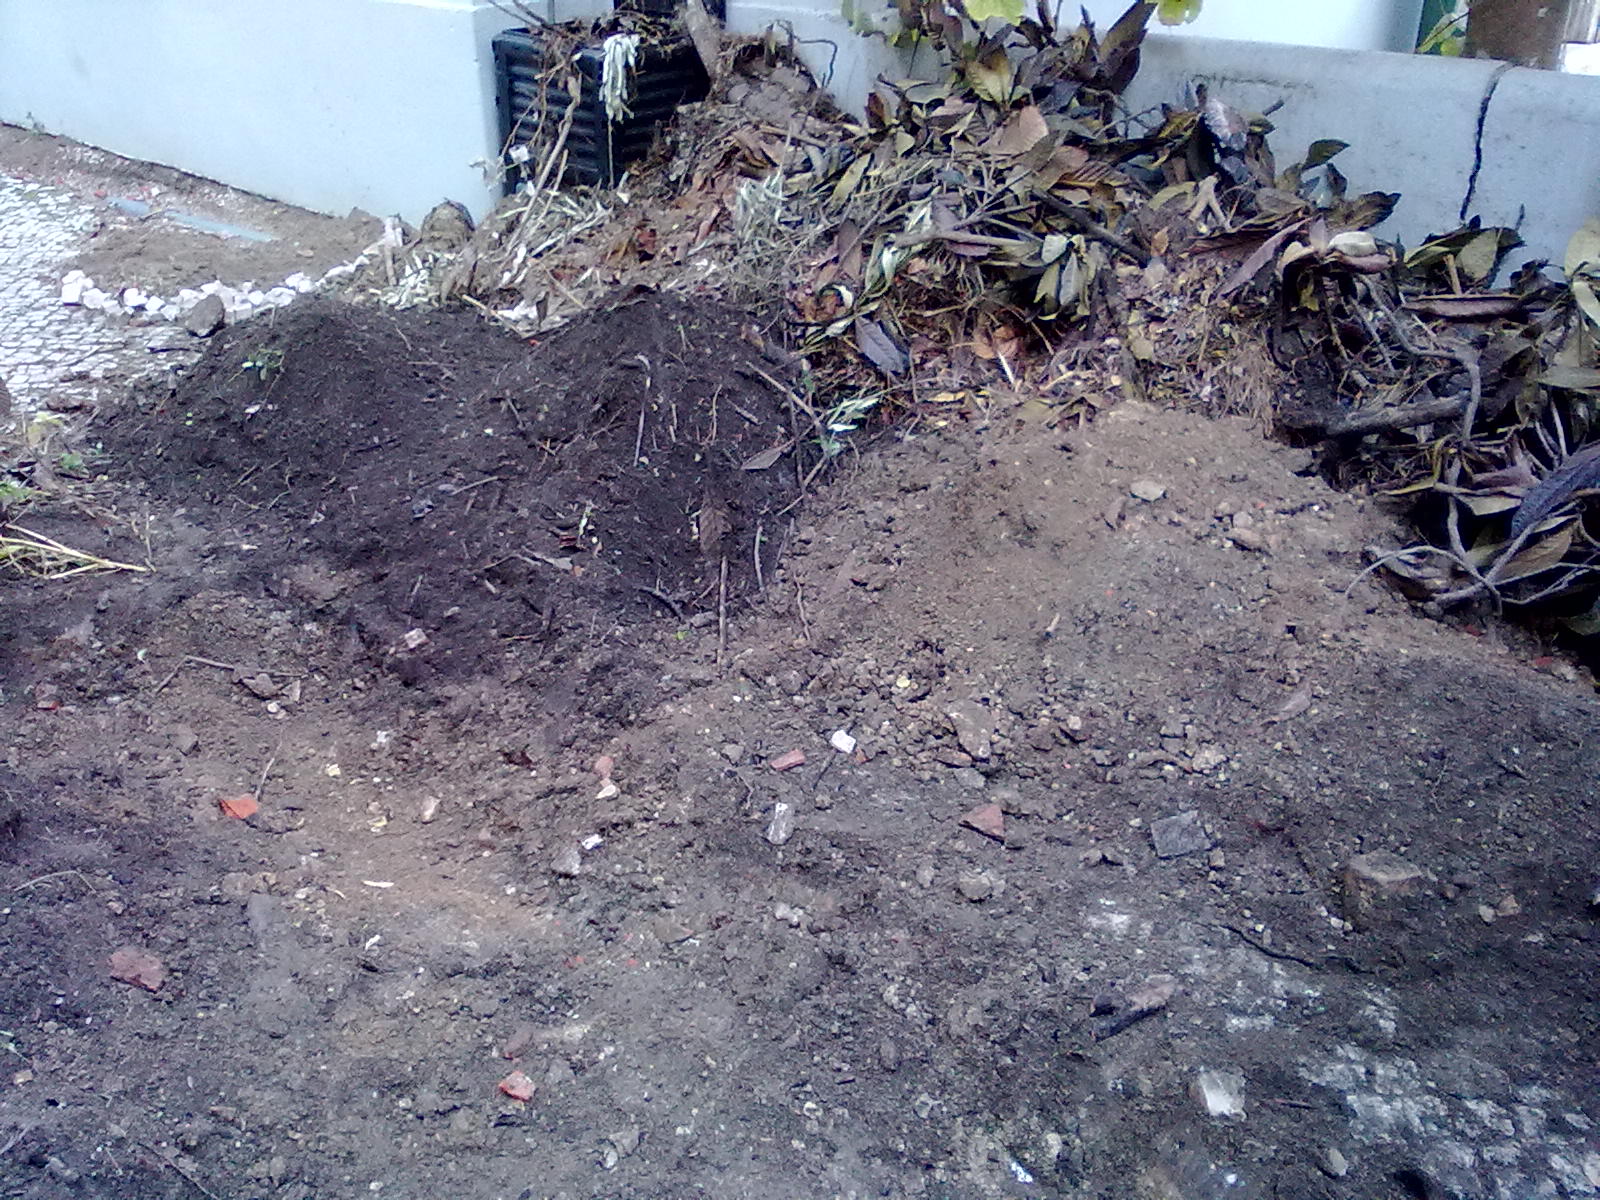
Oh, right... you can also see that the compost pile has GROWN a bit... ;) I've found an endless source of composting material at the university :) All that gardening "waste" usually goes to the trash can... with a bit of conversation, i was granted the permission to take whatever i wanted, whenever i wanted :D
Most of it will be used to create a raised bed. Underneath all that compost pile lie some tree trunks i was able to find in a public garden nearby ;)


